
Printer users frequently face printer offline issues with their devices. If you’re experiencing this issue keep reading this article. This article we’ll discuss the causes of the Printer showing as offline issue and troubleshooting solutions for the Printer is Offline and How to fix it..
Why is my printer showing as Offline?
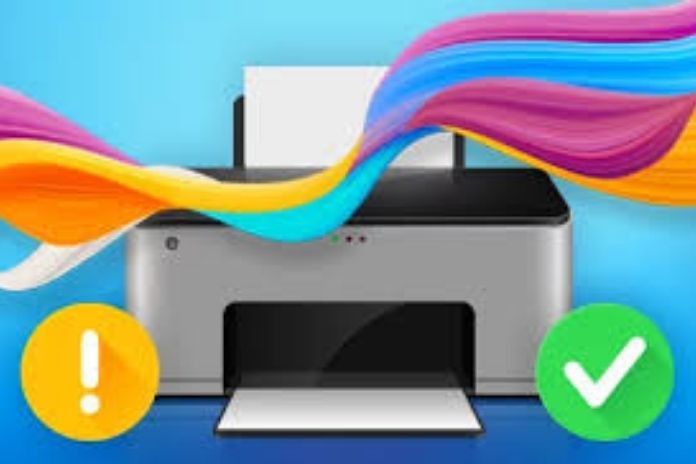
In general it is when the printer and computer cannot establish an uninterrupted connection, it displays that the Printer is showing as offline error. Below are some of the causes the reason why my printer is Displaying as Offline.
- The slow or ineffective network connection between the printer and computer.
- USB cable damaged USB cable.
- Print jobs that are not completed in the queue for printing.
- Driver software for the printer is outdated.
- Internal printer issues like paper jams or a blocked print head.
Before performing the troubleshooting procedures that are provided here, users must simply turn off their devices the following manner.
- Switch off your printer.
- Take your Main Power cable from the switch.
- Shut off the computer.
- Take a few moments (Minimum of 10 mins).
- Switch on your computer.
- Turn on your printer.
Print may cease to function due to overload or overheating. In this case this method is effective and removes the problem of What is my printer showing as offline.
The printer is offline in Windows 10:
Users who own their Windows 10 device can use the steps below to resolve the issue. My Printer is offline issue on Windows 10.
- Check Connection
If you’re using a printer that is network-connected and are trying to connect using wifi, then make sure that the printer and computer are on similar wireless connections. Traditional printer users must examine whether all the cables are connected properly or not.
- Set the HTML0 printer Online (from Settings and Device Manager):
Users can follow the steps to set printers to be online on Windows 10 via Settings. Open Start and then launch the Settings Application.
Select Devices> Printers and Scanners.
On the right left side, select the printer you want to print.
Click on the button to open queue.
Click on the Printer tab, and then deactivate the option to use the Printer Offline choice from the menu dropdown.
Start and choose the Device Manager option from WinX’s Menu.
Go to the Action tab.
Choose from the Devices as well as Printers option.
Click on the printer name that has the issue. Print Offline Windows 10, Solution.
Choose the See the Printing option from the contextual menu.
Use this program to run the Windows Printer Troubleshooter:
Click Start and then click on Settings.
Select the Devices> Troubleshoot.
In the left pane select the Printer, then click on the Run troubleshooter button.
The Printer Spooler must be restarted. Service:
Use the Windows+ R keys from your keyboard to open into the Run box.
Enter services.msc into the text box and press the Enter button.
In the window for services In the services window, look at in the services window, look for Printer Spooler Service.
Make sure it’s not either running or is stopped.
Click on Right-click to open the Printer Spooler service and click on the Restart option.
Remove and Install Printer:
Click on Start and then open Microsoft’s Windows Settings application.
Click on Devices> Printers and Scanners.
It will display a list of devices that are connected with the computer. Select your printer, then choose the option to delete it.
Restart your computer.
Start the Settings.
Navigate to Devices> Printers and Scanners.
Click the Add Printer, Scanner or Printer button.
Follow the instructions on screen for installing the printer in Windows 10.
Check Printer driver Update
Click the Start icon. Find and launch Windows Device Manager. Windows Device Manager. (or enter devmgmt.msc into the run box, then press the enter)
Expand the printers listed in the list of devices.
Right-click your printer’s name.
Choose the Update Driver option in the contextual menu.
It takes just a few minutes to update your printer driver.
Verify Windows Updates:
Go to Start> Settings.
Select Update and Securitythen the Windows Update option in Settings.
Connectivity:
Clear Print Queue:
Navigate to System Preferences-> Printers and Scanners.
Choose the printer you need to be troubleshooting.
Click the Open button. Print Queue.
Perform Printer Diagnostics for Mac OS
Select the Apple logo and then select System Preferences.
Printing and Scanners: Go to Printers and Scanners.
Choose your printer from the options.
Click the Options and Supplies button in The Printer menu.
Depending on the model of your printer You will find depending on your printer, you can find Printer Diagnostics functionality under either the Utility or Diagnostic heading.
Remove and then add this Printer to:
Go to Apple icon -> System PreferencesPrinting and Scanners.
Click on the printer you must be removed.
Press”‘-‘” icon to delete it from the Mac.
Shut off the printer and disconnect the USB cable, if connected.
Navigate to System Preferences-> Printers and Scanners.
Click the “+ link to include the printer.Users may click on the default in case the printer has to be physically connected to Mac using a USB cable.
8. To add a network printer select an IP option to connect the printer.
9. Windows option will display the printer connected to the Windows PC in the same network.
Update Printer drivers
Start in the App Store.
Choose Updates as an option.
Click on Install all updates for printers. Users require an Internet connection that is stable and reliable for the installation of the update.
Restore the factory setting: